Once you have completed the above step, you can create accounts for anyone else in your organisation who will need access.
You can also set up your sites in advance of receiving your cameras. Cameras can then be easily connected to sites and monitors once they are networked.
If you haven't received your welcome email please contact customer support.
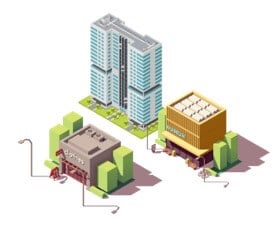
Create a site for every business location you want to use HoxtonAi cameras at.
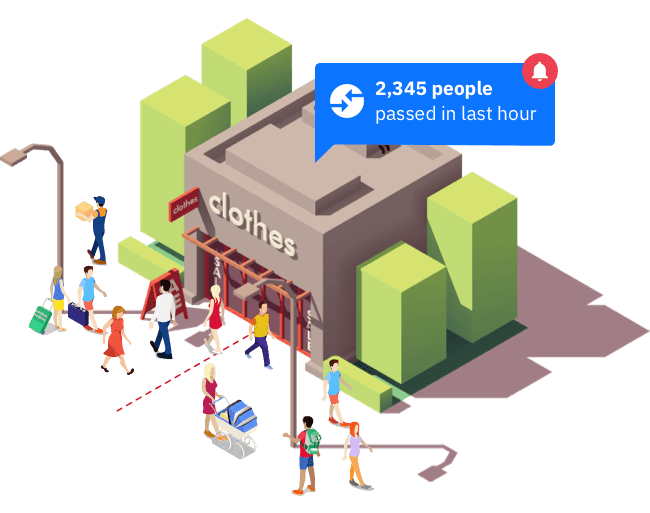
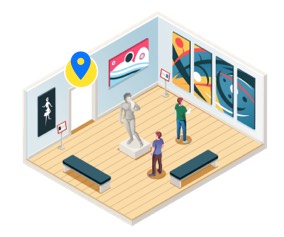
Within each of your sites, create People Count and/or Occupancy Monitors to start understanding your visitors.
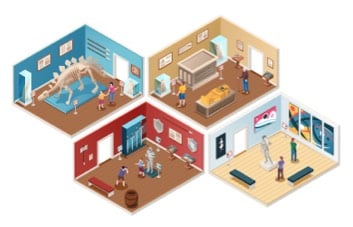
Connect cameras to your monitor. Occupancy monitors require a camera for every entrance/exit to the space being monitored. People count monitors can use any number of cameras.
You can find our more about sites, monitors, and cameras in the Control room user guide.
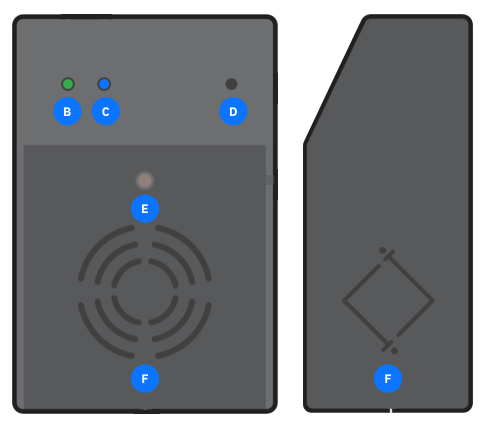
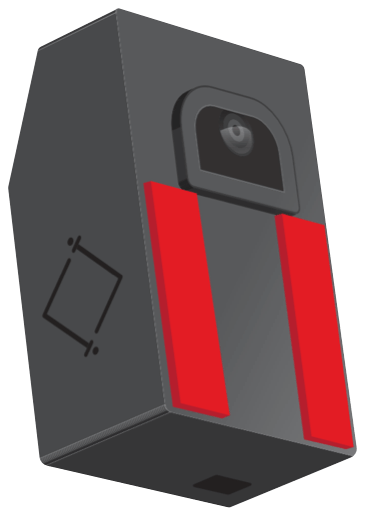
When powered the camera will be in hotspot mode with both LEDs flashing simultaneously at regular intervals. The camera is ready to be connected to the internet.
You can connect through wifi or ethernet

If you have registered your camera and connected by wifi or ethernet as described above - you can view a test frame from your camera.
You should do this before mounting the camera for easier troubleshooting.
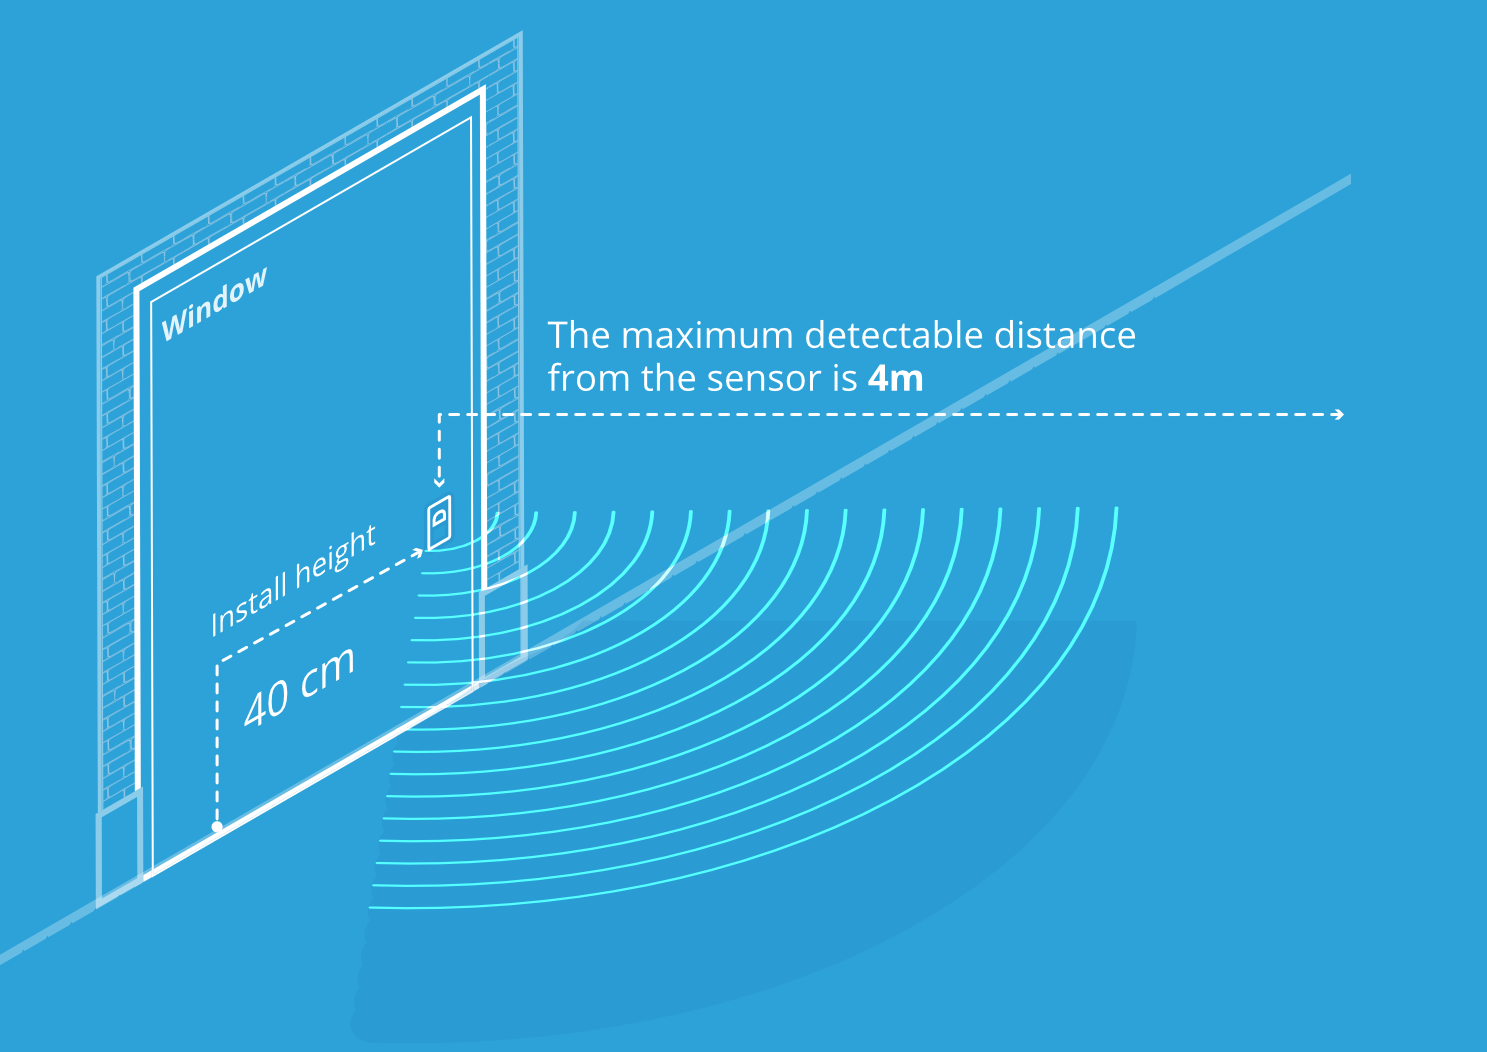
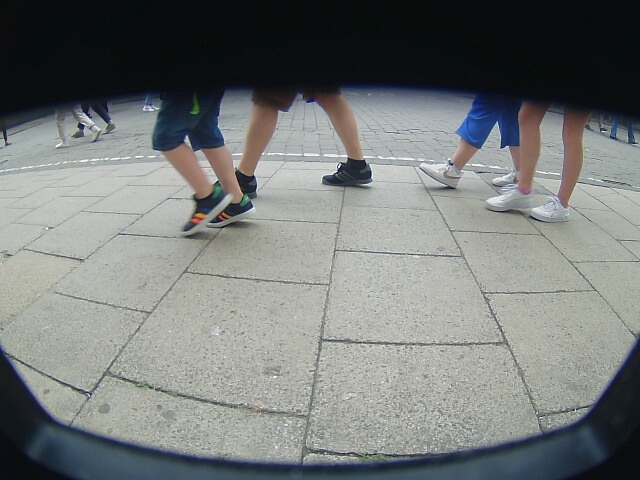
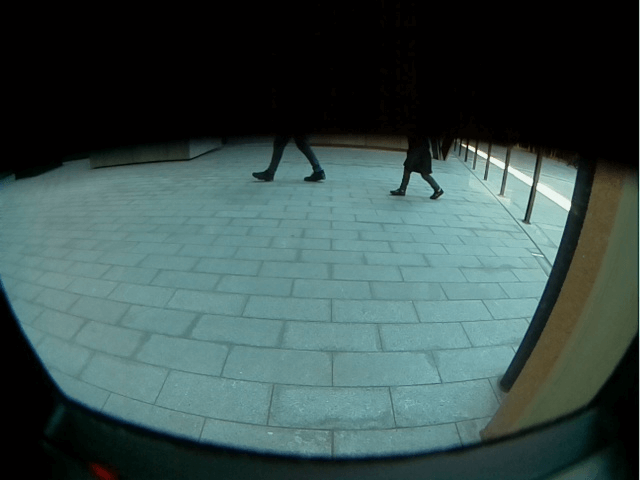
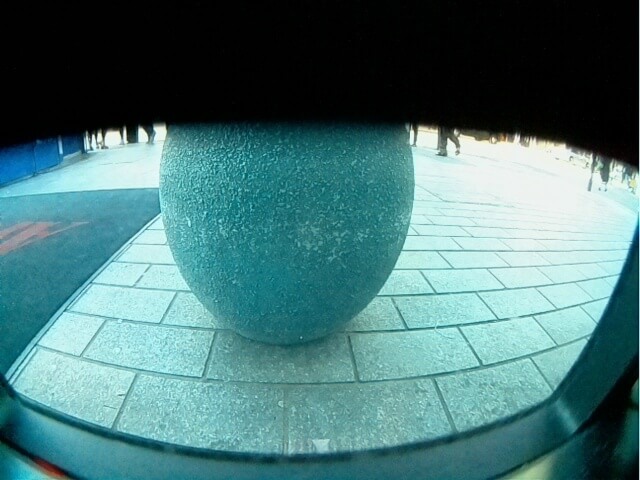
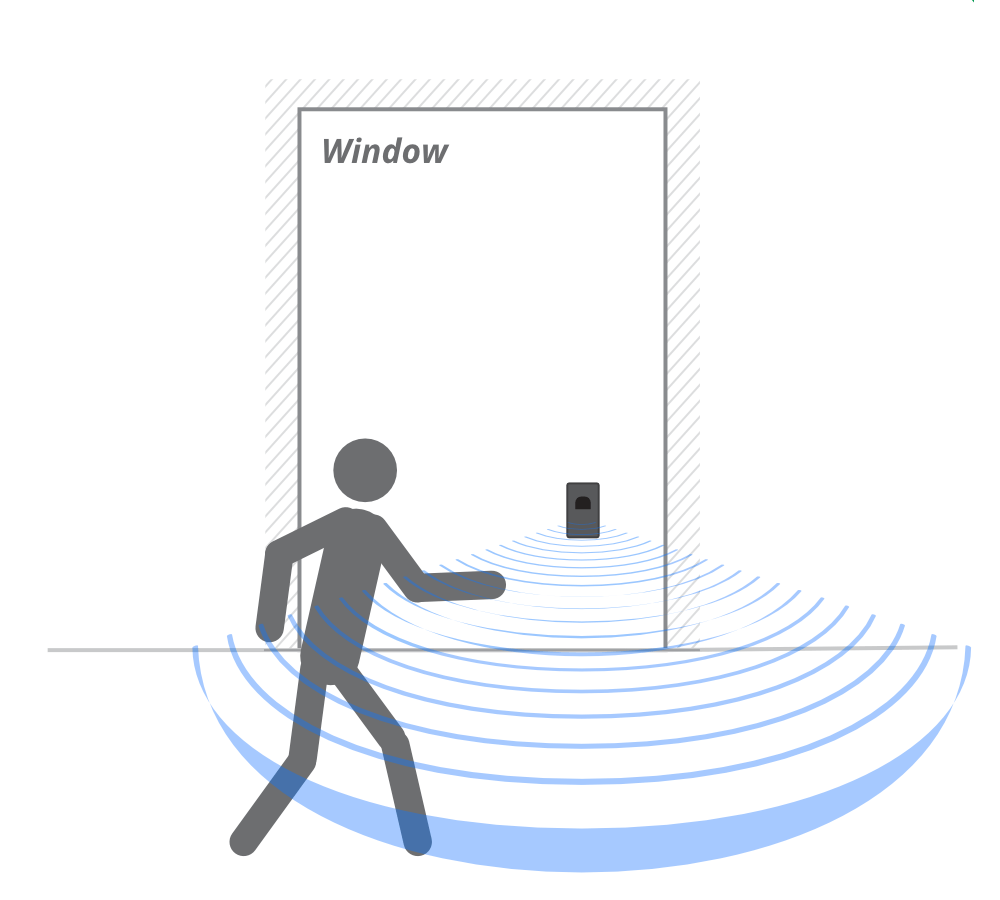
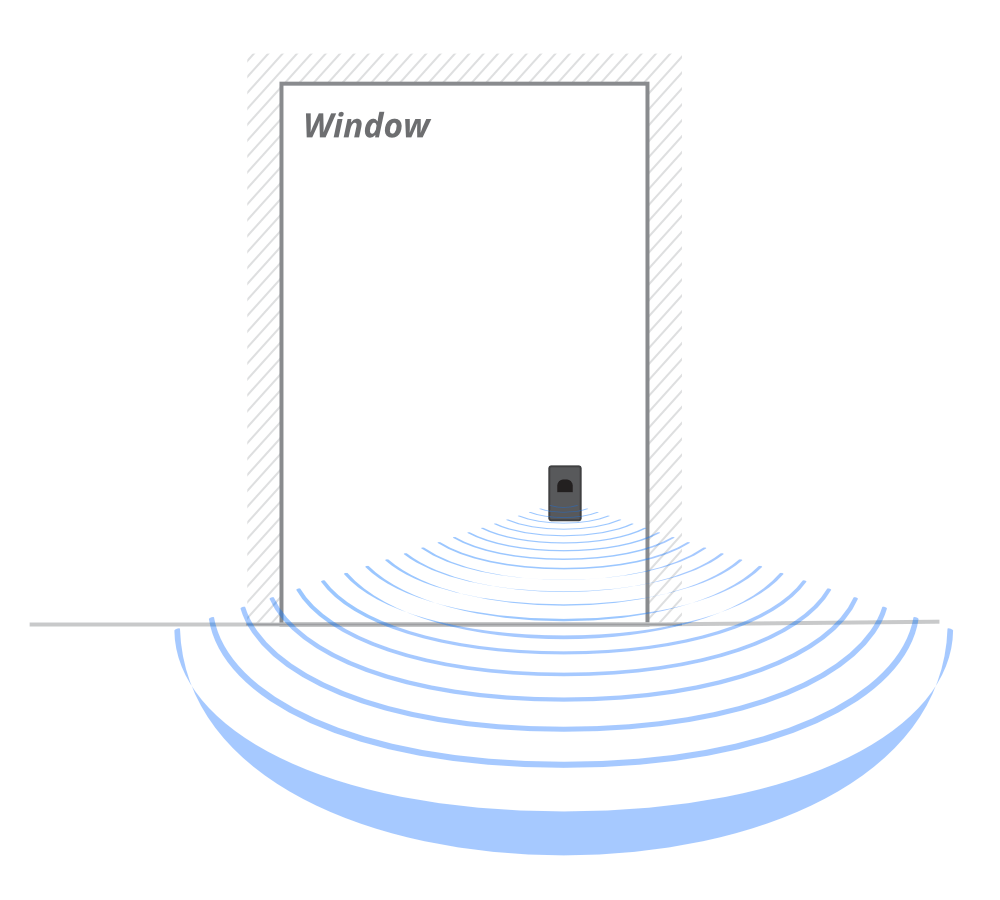
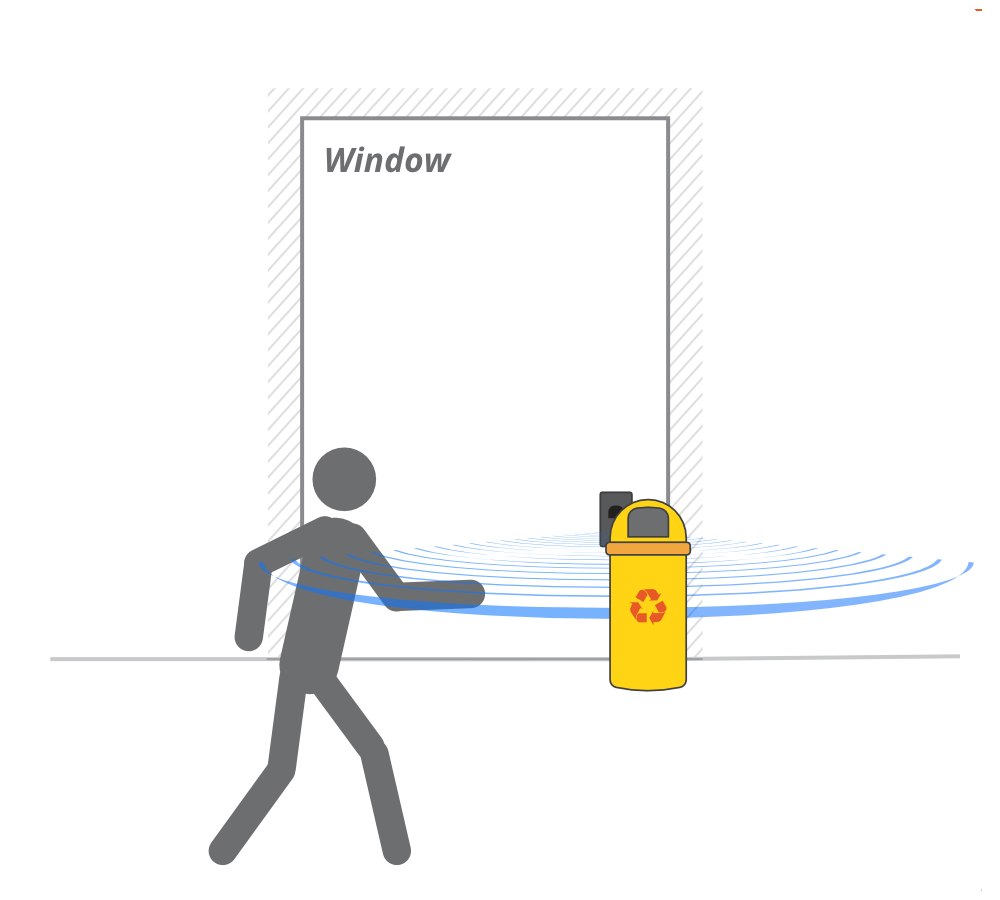
The camera's view of foot traffic must not be obscured and be level with the detection area.

The camera should be mounted with the pre-applied adhesive tape.
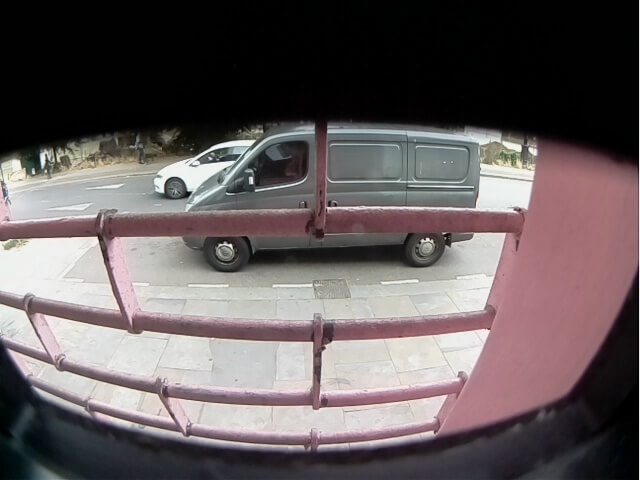
Once your camera is mounted, you should check the camera view in the Control Room and confirm directions.
Now your cameras are registered and mounted - you are ready to set up some monitors and start finding out how people are using your spaces.