Sensor setup guide

HoxtonAi sensor with graph

You can start before your sensors arrive.

Login to the Control Room and set up any sites where you will be installing. They'll be ready to connect sensors to when they arrive.

You can also create new users in the Control Room if you want someone else in your business to do this setup.

Control room

You'll be asked to set a password to create your account.

Buildings

Sites.

Create a site for every business location you want to use Hoxton sensors at.

Rooms

Monitors.

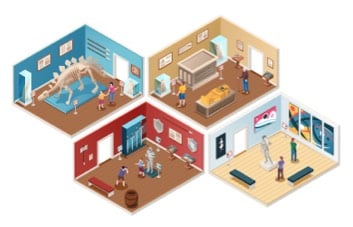
Within each of your sites, create People Count and/or Occupancy Monitors to start understanding your visitors.

Sensor Positions

Positions.

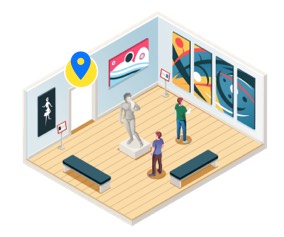
Positions are where you will mount a sensor within a monitor. If you set up an Occupancy Monitor in a room with 3 doors, you should create 3 positions and connect a sensor to each.
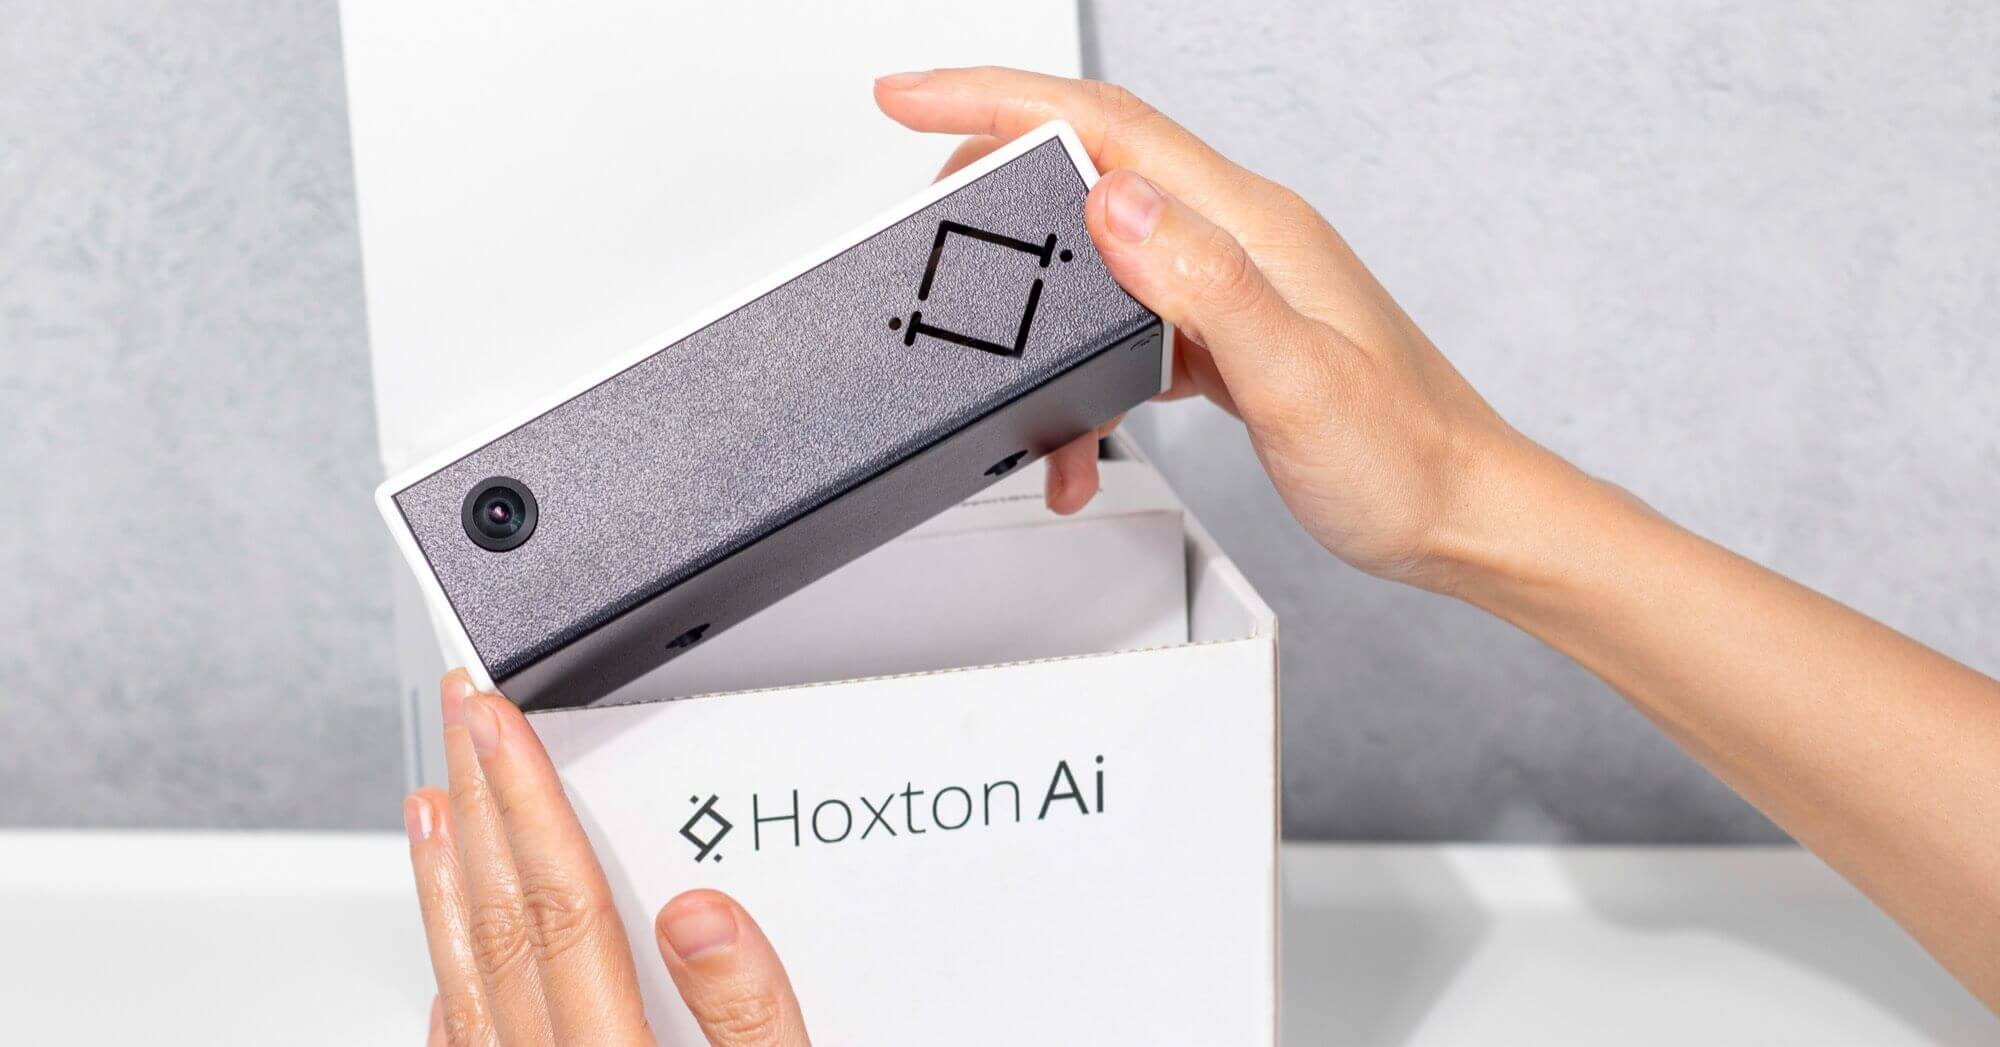
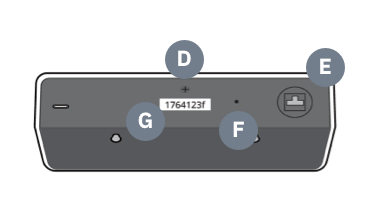
Once you've received your sensor

Unboxing a HoxtonAi sensor

What's in the box

Sensor front
  1. Air vents
  2. LEDs
  3. Camera lens
Sensor back
  1. ¼inch screw fixing
  2. Power port
  3. Reset button
  4. Serial number
Sensor back
  1. Power plug
  2. Power cable
  3. Camera wall mount

Register your sensor.

Do this before you've powered the sensor. It lets our platform know your device is coming

  1. If you haven't already create your Control Room login and set up your site(s).
  2. Login to the Control Room and go to the site you want to use your sensor in.
  3. Select the Register sensor option under Pending sensors.
  4. Enter the 8 digit serial number of your sensor.
  5. Your sensor is now registered and ready to be powered.
Later on you will need to set up a Monitor for your sensor to start counting traffic. You can find out more about this here. But for now, you just need to register your sensor and test the camera view as described here.

Power your sensor

Watch this video to see how to connect your sensor for power.

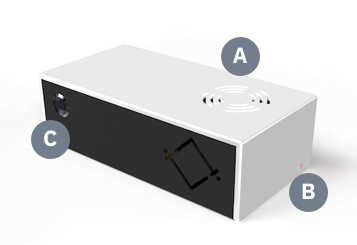
When powered the red LED will be visible on the sensor. See all device statuses.

The sensor will now be in Hotspot mode and ready to be connected to the internet.

Connect to the internet.

You can connect through wifi or ethernet

Connect by wifi Connect by ethernet

View a test frame.

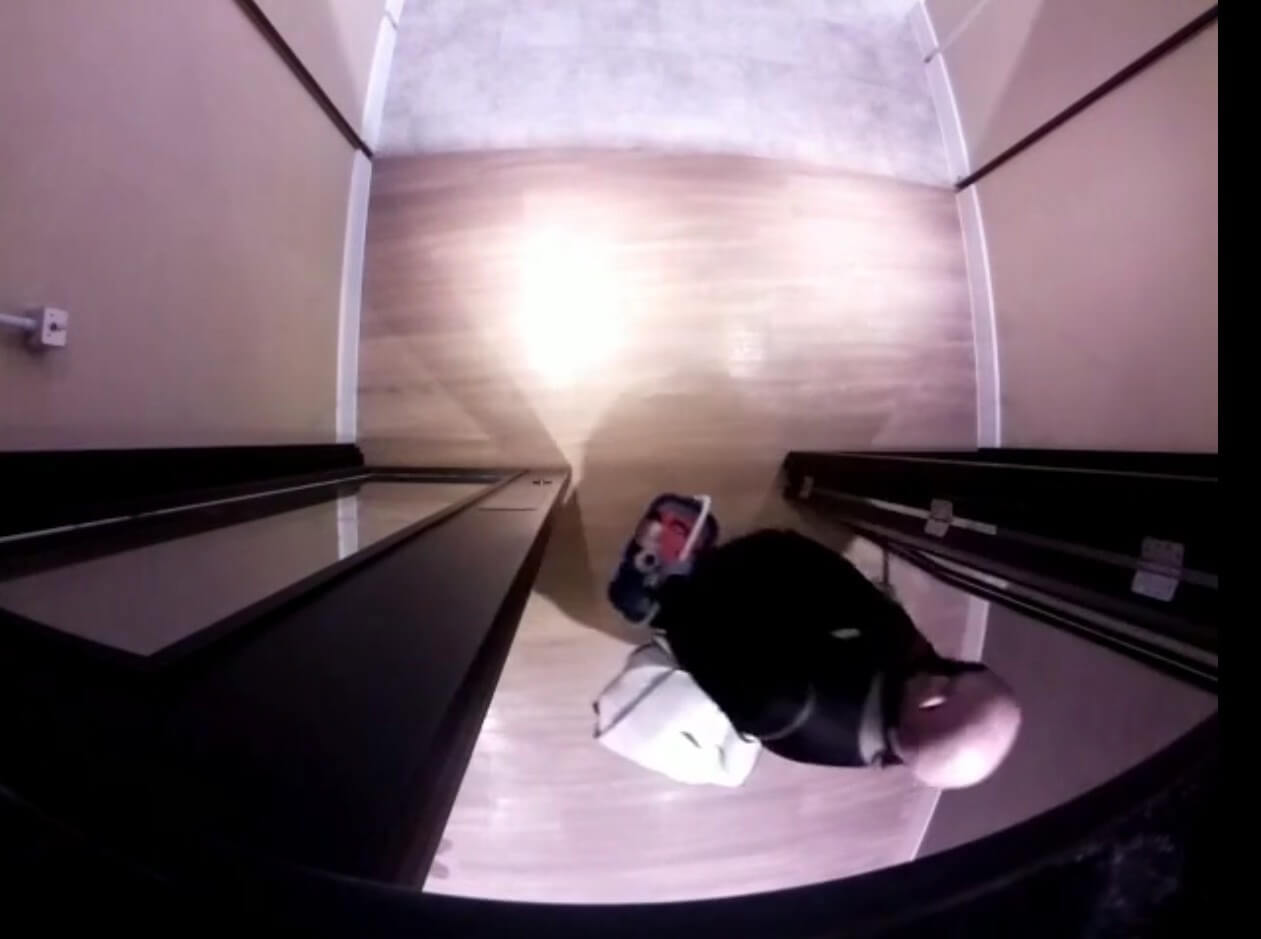
If you have registered your sensor and connected by wifi or ethernet as described above - you can view a test frame from your sensor camera.

You should do this before mounting the sensor for easier troubleshooting if there are any issues with the camera.

  1. Go to the Control Room and view Pending sensors for the site where your sensor has been registered.
  2. Select the sensor you want to test from the list.
  3. You should see a test frame from the sensor camera.
  4. If your camera view looks correct, your sensor is ready to be mounted.
  5. If the test frame does not look correct - see our troubleshooting guide.
    Failiure to pull an image at this stage is normally related to poor wifi connectivity.

Mounting your sensor

Please read the requirements below before mounting your sensor. Failure to do so might effect the accuracy of your data.

Mounting a HoxtonAi sensor

Sensor position

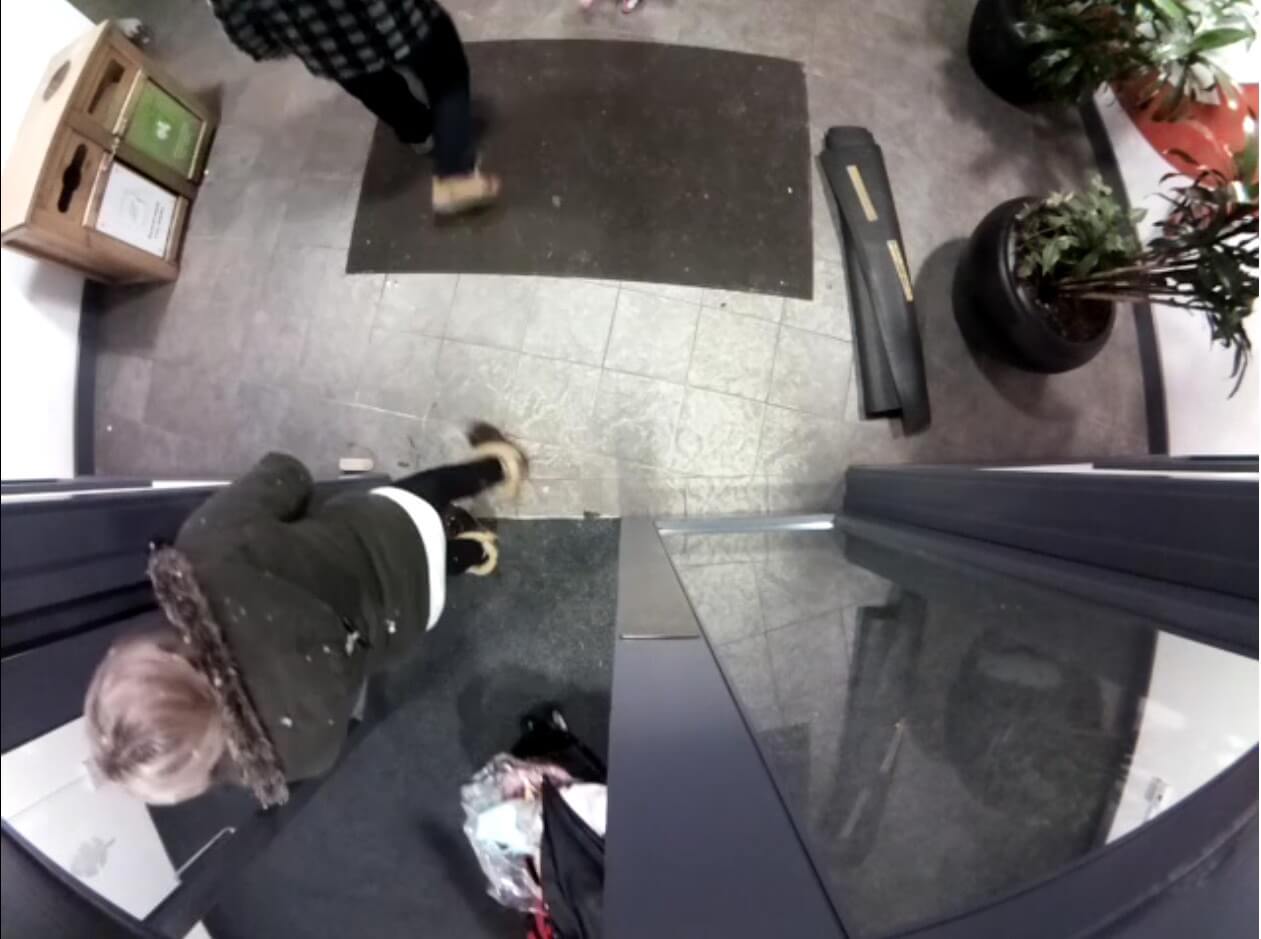
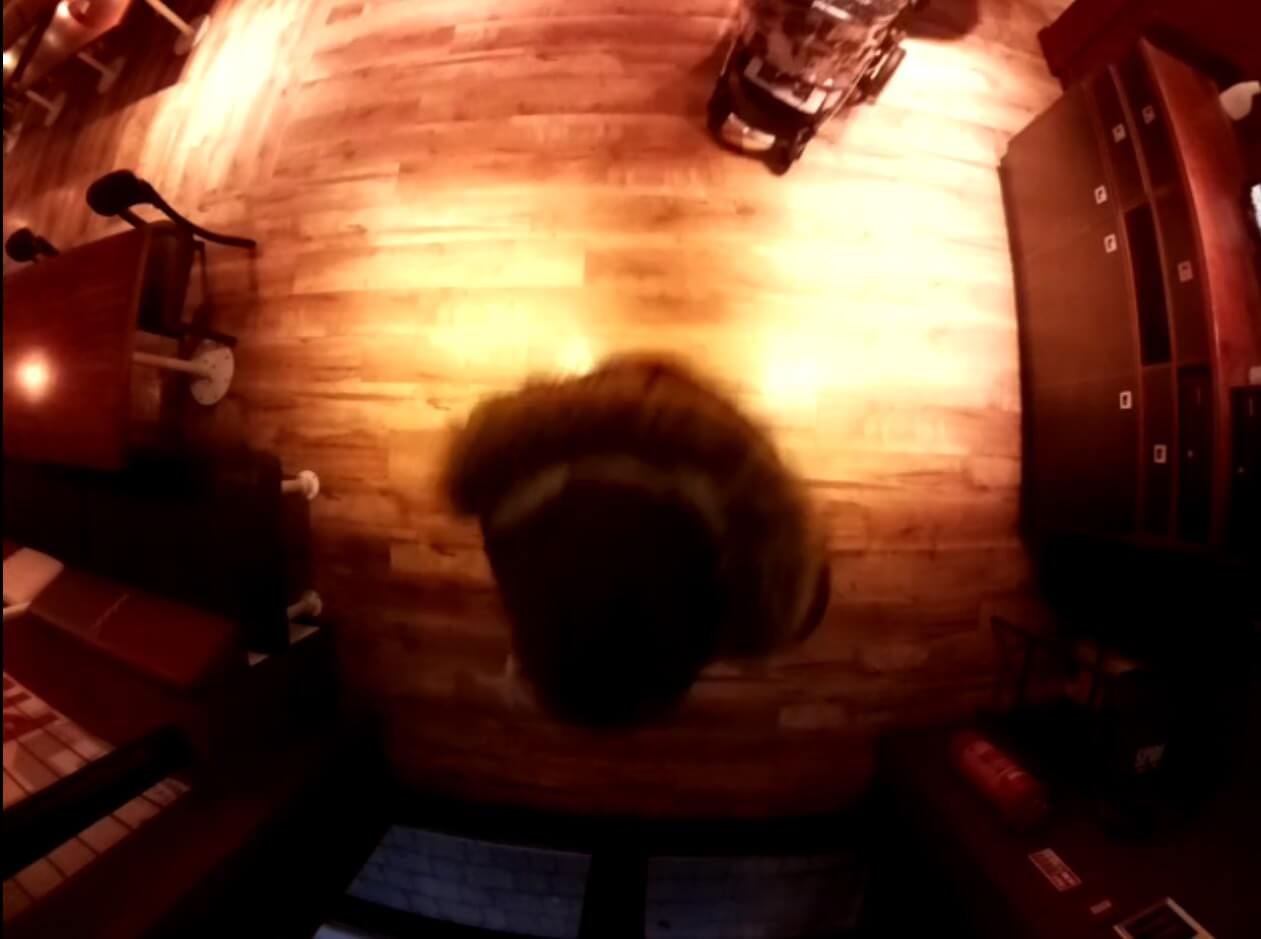
Ensure there is good lighting. You must be able to see a clear distinction between head and background.

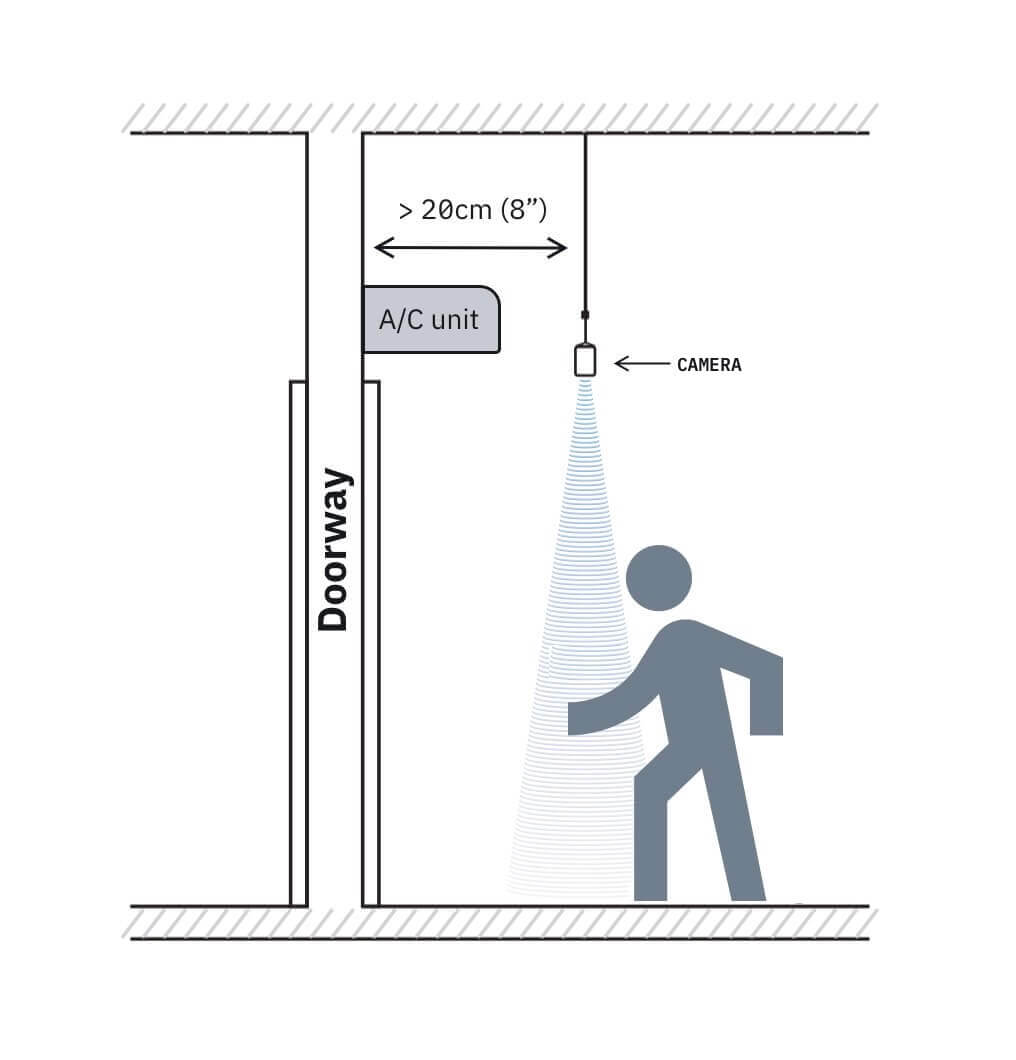
Doorways should also be clear of any obstacles that inhibit traffic flow. They should also be clear of people loitering of queuing.

Sensor view with good lighting
The person's head is cleary visible.
Sensor view with good lighting
The person's head is cleary visible.
Sensor view with good lighting
The person's head cannot be seen clearly.
Sensor view with good lighting
The person's head cannot be seen clearly.
Entrance width Minimum mounting height
(camera lens to floor)
107cm (3'6") 240cm (7'10"
157cm (5'2") 255cm (8'7"
207cm (6'9") 270cm (8'10")
257cm (8'9") 285cm (9'4")
300cm (9'10") 300cm (9'10")

Position the sensor lens in the middle of the entrance?

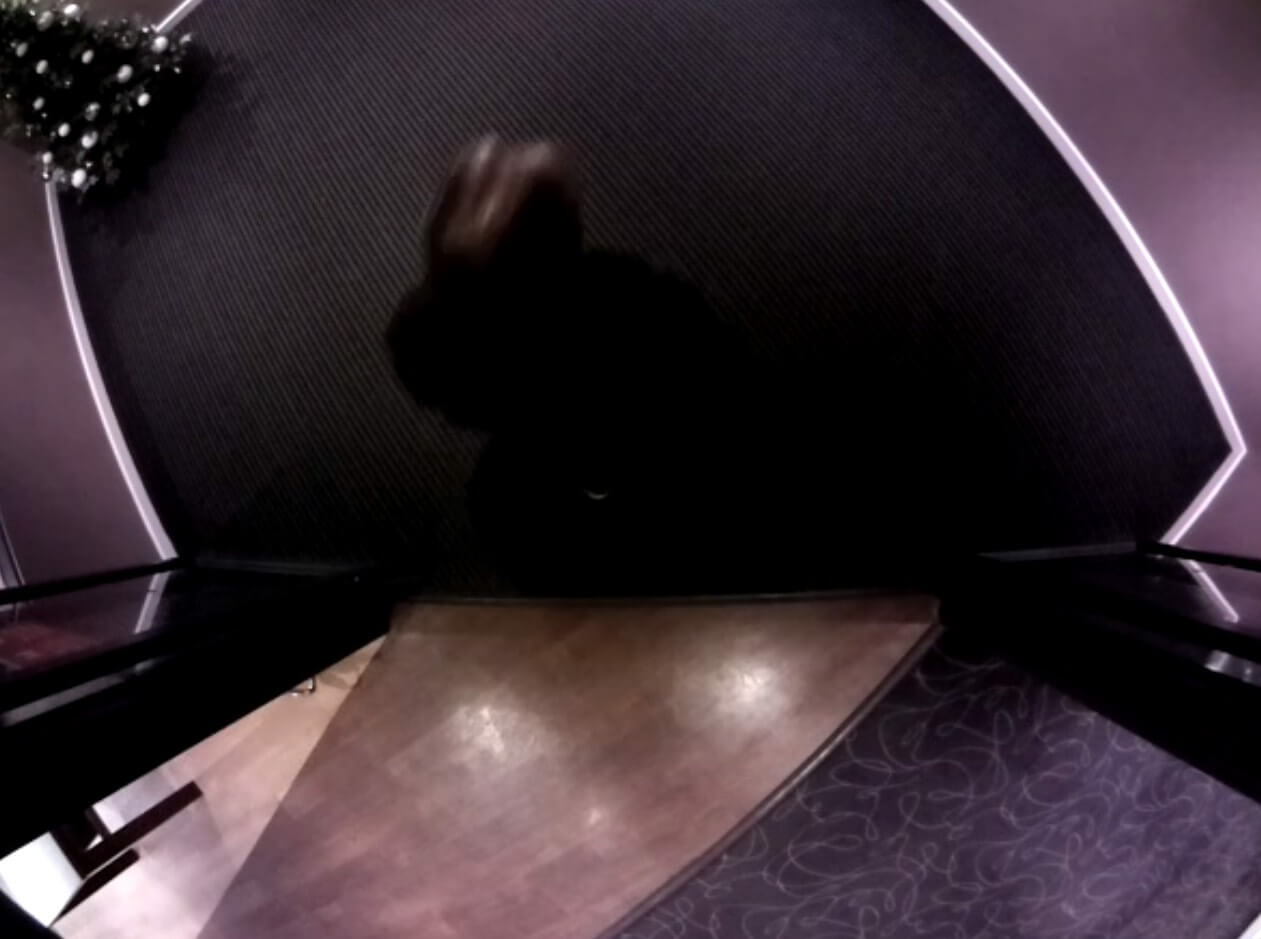
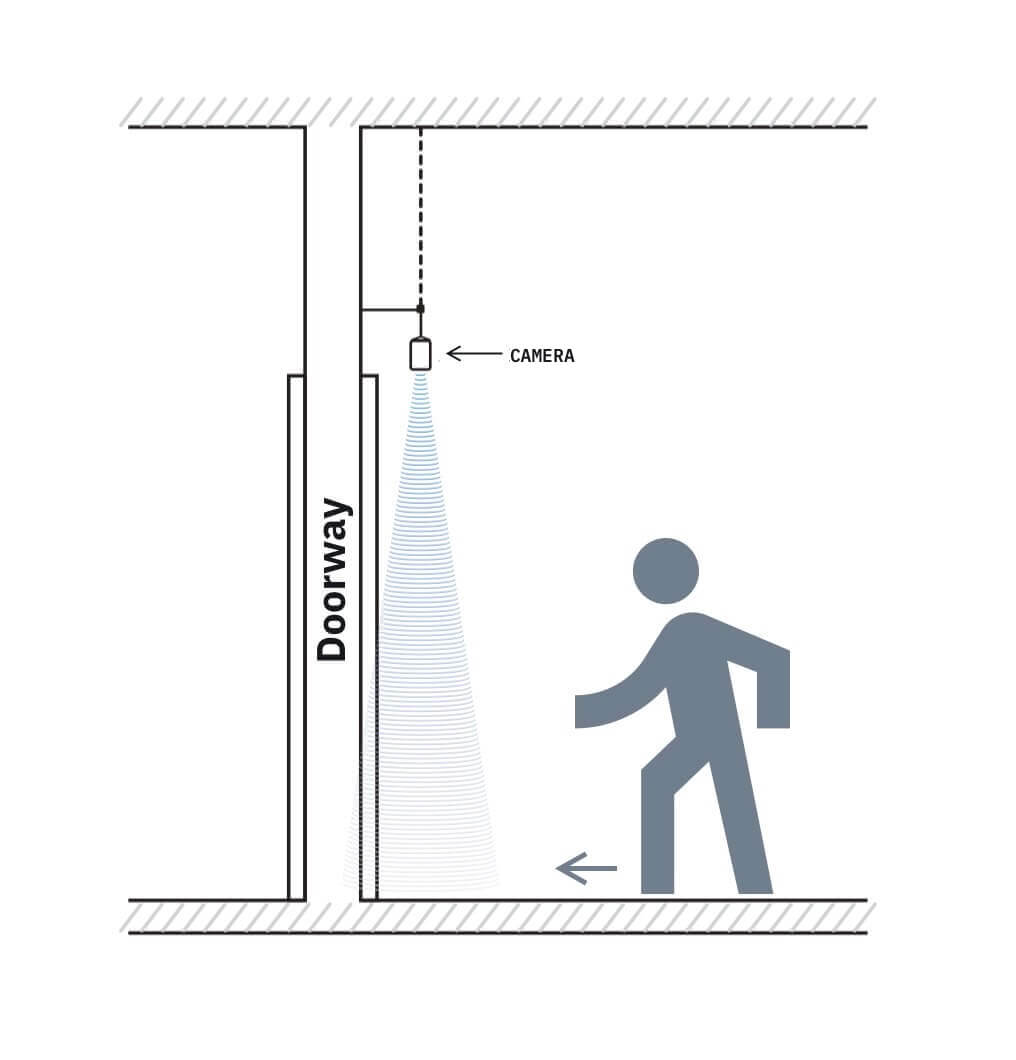
For accurate counting the lens of the sensor must be over the middle of the flow of traffic.

Sensor mounted in centre of doorway
The sensor lens is in the centre of the doorway.
Sensor not mounted in centre of traffic flow
The sensor lens is not in the centre of the main traffic flow.

Position the sensor as close to the doorway as possible.

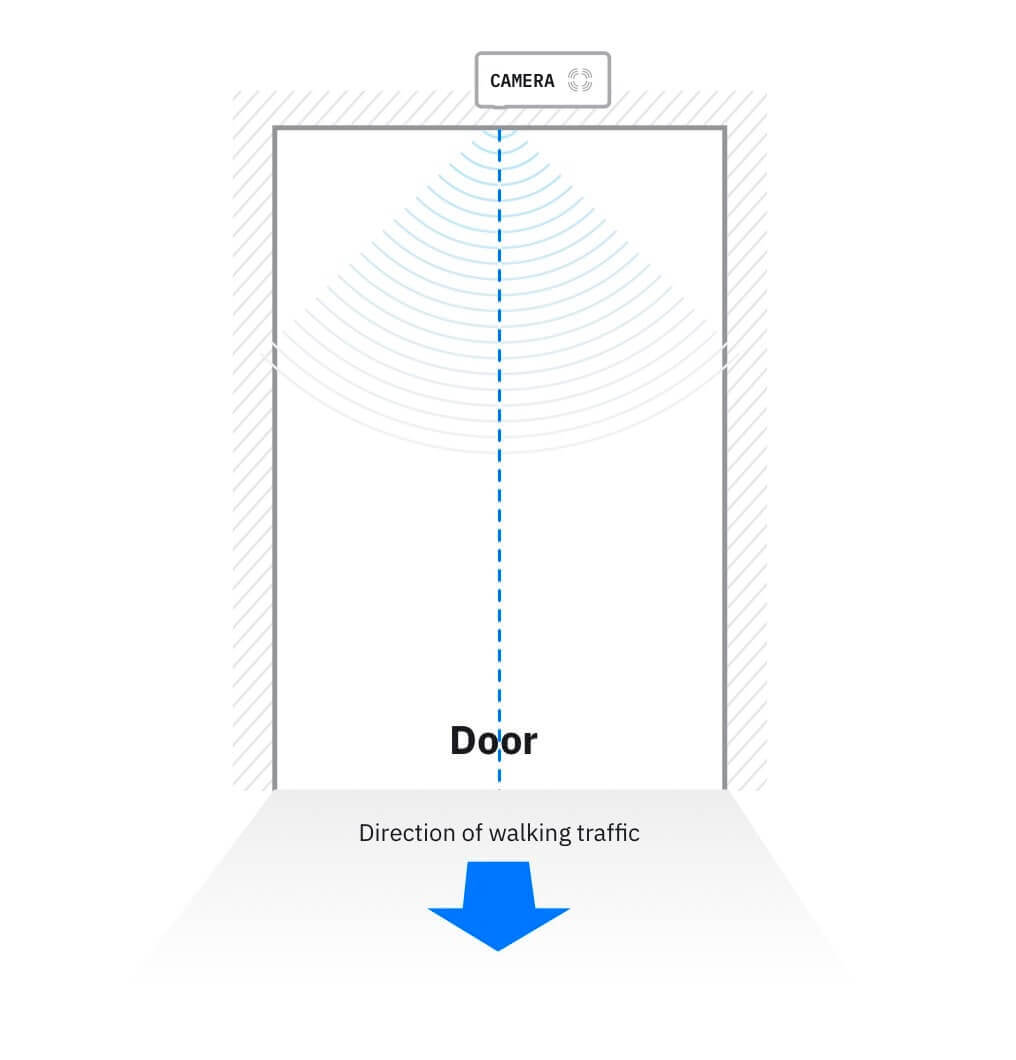
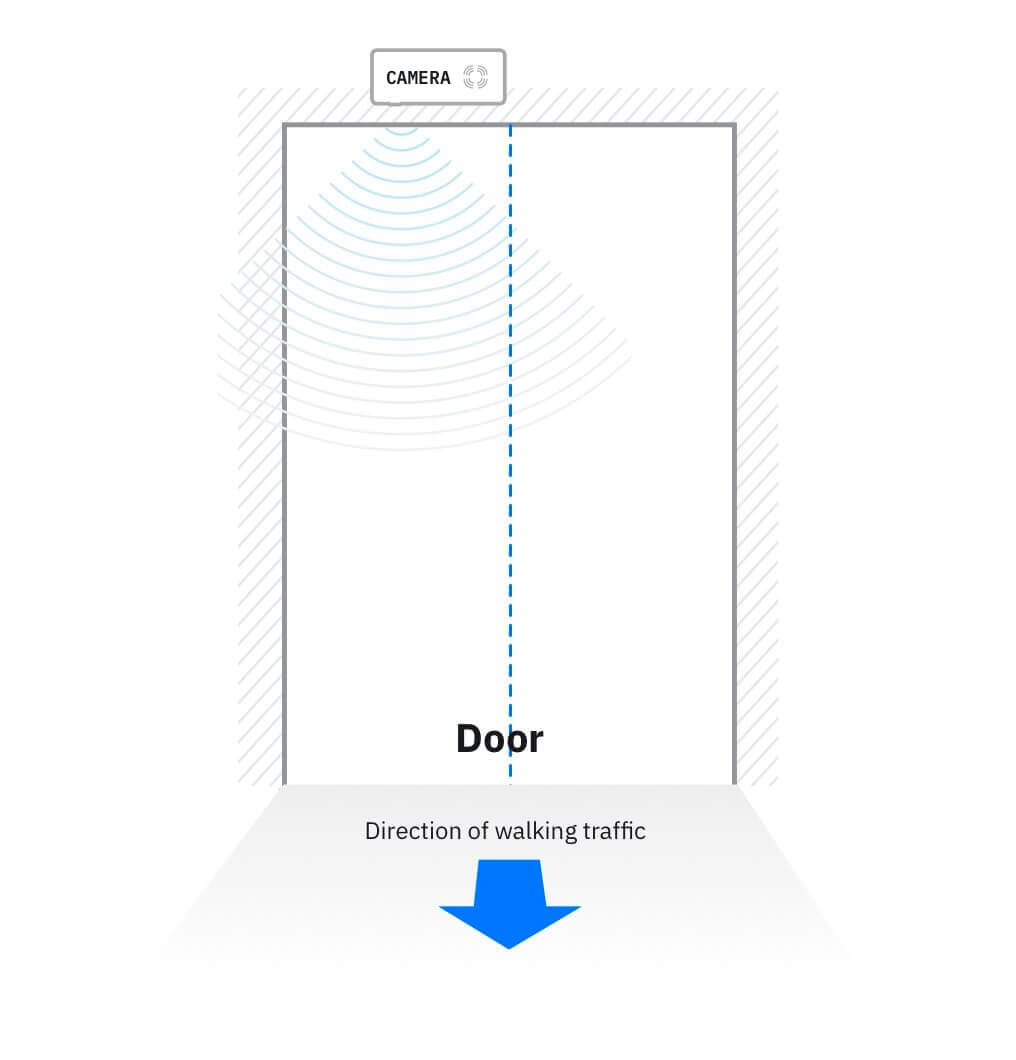
The gap between the doorway and the sensor should be minimal. In particular it must not be possible for anyone to walk out the door without passing under the sensor.

Sensor mounted close to the doorway
The sensor is mounted close to the doorway.
Sensor mounted too far away from the door
The sensor is mounted too far away from the doorway.

Fixing the sensor to the ceiling/surface.

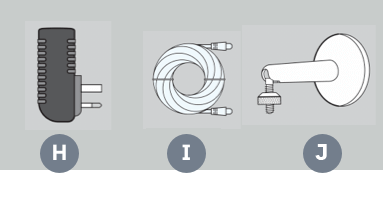
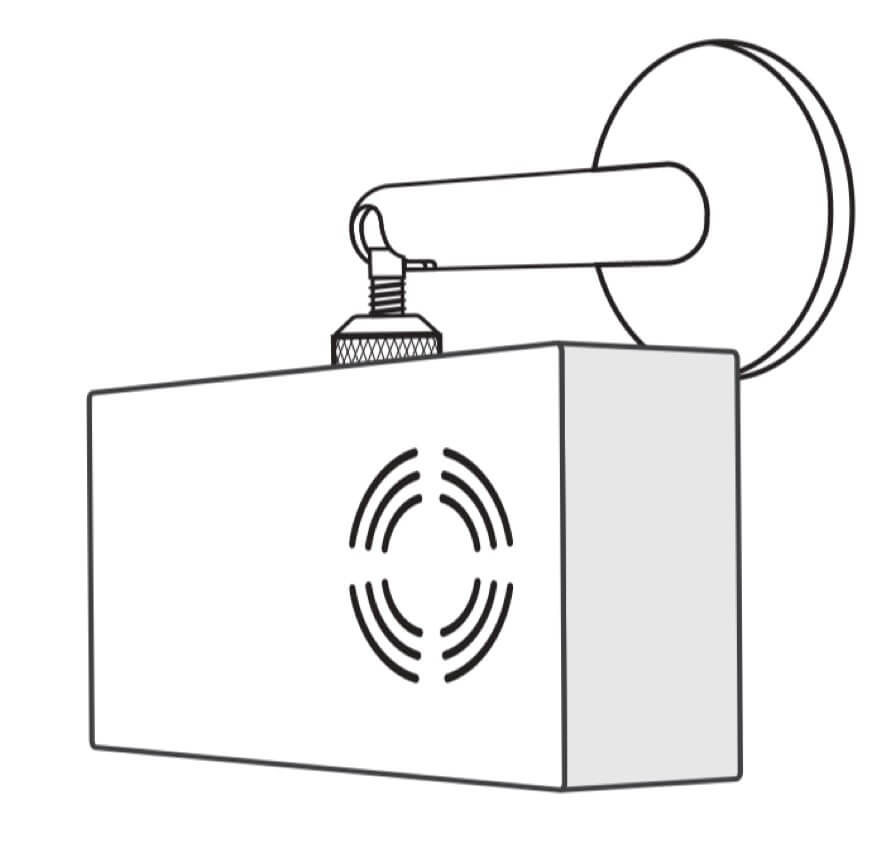
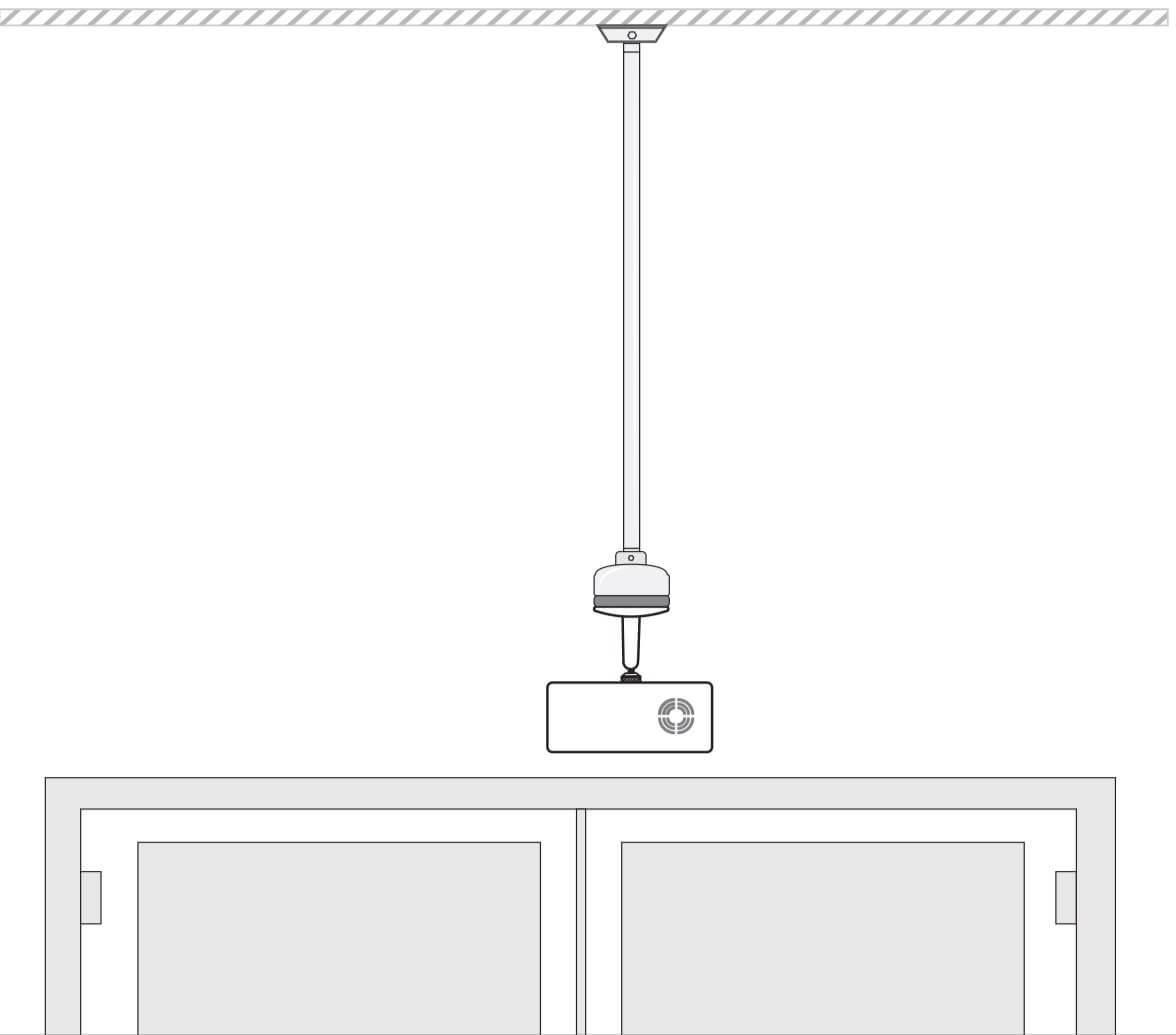
The device should be mounted using the wall bracket provided.

Use the Camera Wall Mount (provided with the sensor) to either mount directly to the wall or to connect to a drop-down pole from above (see drawings below).

Sensor and mount
Example ceiling mounting of sensor

Once your sensor is mounted, you should check the camera view in the Control Room (link to come) and confirm directions.

Next steps.

Now your sensors are registered and mounted - you are ready to set up some monitors and start finding out how people are using your spaces.

Our Control Room user guide will get you started with everything you need to know to do this.