How to network a sensor using ethernet
This page will explain the steps to set up a HoxtonAi sensor with ethernet.
Setting up a HoxtonAi sensor using ethernet is extremely straight forward and should be plug and play in most scenarios.
Please see the network requirements page for more information.
-
Connect the Power Over Ethernet plug to your mains power.
If you have access to active PoE points, you may simply connect your Sensor(s) directly, by using the supplied ethernet cable.
-
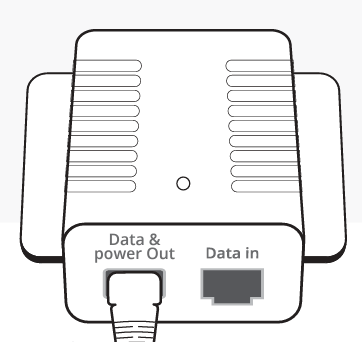
Connect one end of the provided ethernet cable to the socket marked Data and Power Out.
Using a second ethernet cable, connect one end to the Data in port on the adapter, and the other to a data point that is connected to the network you wish to use.
-
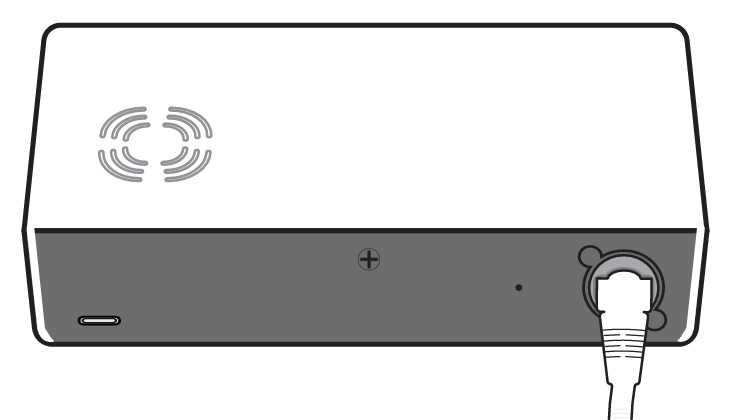
Plug the other end of the cable into the Sensor.
-
Wait up to a minute for the Sensor to connect to your network
This can be confirmed by the green and red LEDs on the side being continuously lit.